Sitting—we all do it. We all do it way too long.
I don’t know if there’s a “right way” to sit. I’ve personally tried regular chairs, lumbar-support chairs, kneeling chairs, recliners, armchairs, sitting on the floor, sitting on the floor in full lotus position, in half-lotus position, kneeling, kneeling on a cushion or block and just plain not sitting—just standing all day while working to bring you, ahem, these tips.
So whether your low back gets tight or tired, it may not be a factor of how you sit, but rather how long you sit. A friend of mine, who describes herself as “having the world’s smallest bladder” may have found the best way to remind herself to get up on a regular basis for short breaks.
On the other hand, if your bladder is of legendary proportions (or you just plain forget to rise and walk around a bit every hour), my guess is you could use this novel way of releasing the tension that your low back accumulates through hours of sitting.
You need a yoga mat and a yoga block. And enough floor space that the guy in the cubicle next to yours doesn’t ask, “Hey, why are you sticking your foot over the divider?”
Okay, here we go, lumbar release in 6 steps:
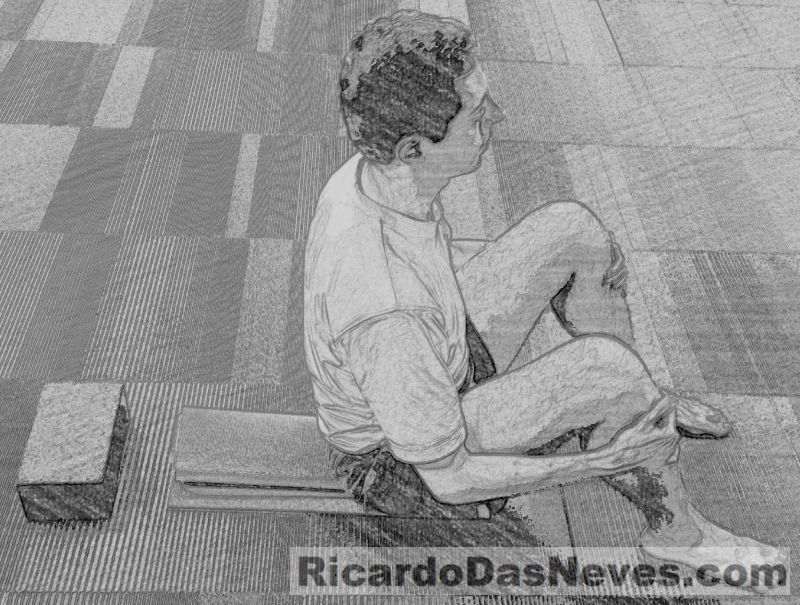
1. Roll your yoga mat tightly, sit directly on it—on its lower end—and set up a yoga block (or equivalent) above the mat, as pictured.
2. Lie back atop the mat. Scoot yourself higher or lower, till your hip bone and your shoulders are both comfortably supported by the mat. Rest your head on the block. Take a couple of deep breaths.
3. Turn your palms to face down, because later we’ll need them like this for balance. Take two more slow breaths. Notice whether your lumbar spine starts to flatten onto the cushion that is the mat.
4. Cross your left ankle over your right thigh. Take two slow breaths. Cross your right ankle over your left thigh, and spend another two slow breaths here. Don’t skip this step—if the last step didn’t flatten your low back onto the mat, this step will.
5. Extend your legs toward the ceiling. Your low back should now be flat. Use your palms on the floor for balance. Take three slow breaths, and then let the legs lean in toward your chest.
6. Separate your legs out to the side, wherever comfortable to you. Keep leaning them in slightly to keep this comfortable and to further flatten your low back. Stay for three long, slow breaths. Follow this up by lying flat on the floor for 5 to 10 slow breaths.
Benefits: Effective enough to decompress the lumbar spine, effortless enough that you might actually do it on a regular basis.
Avoid if: If you experience any pain in your hip or lower back during this sequence, try scaling it back to whatever previous step didn’t cause you pain. If just lying down atop the rolled mat is enough to create discomfort, stay there for 10 slow breaths and go no further—consult a chiropractor or physical therapist to ascertain that the source of the pain isn’t deeper than just low-back tightness.
Final thoughts: No, you can’t use a cushion for the “Cushioned Lumbar Release.” Next question?
.
Author: Ricardo das Neves
Editor: Yoli Ramazzina
Photos: Author’s own.


Read 2 comments and reply