 Share on bsky
Yes, you too can milk an almond even though it doesn’t have nipples or teats.
Want a nut-free option? Try Oat Milk!
I was inspired to make my own batch of almond milk because of the desire to control what I put into my body.
I want to have the ultimate say on what I’m nourishing myself and my family with and I want the very best quality, as close to the source, ingredients. I’ve been thinking about making my own milk but couldn’t make the commitment to do it, instead opting for the store bought version. It’s easier and more convenient, I’d tell myself.
But, that can be said about most of the junk that we choose to ingest, right? No more! I had finally purchased some genuine, raw almonds from a local farm that was giving all kinds of free samples at the farmer’s market. What really pushed me to take the next step was a friend of mine, Diana, who texted me out of the blue and asked, “Hey, have you ever thought of making almond milk?” I had been looking at my beautiful, untouched almonds in the Mason jar and said, “Yup. I’m gonna soak them right now.”
After an extensive Google search which led me to countless articles and videos, I came across the hilarious article by René Cousineau on elephant, “How in the Hell Do You Milk An Almond?” that was written in response to an article debunking our previous ideas about drinking cow’s milk.
Very informative stuff and I learned that when making any nut milk, all nuts are not created equal, so do your homework and make sure that they come from your local farmer because all others sold at stores, even labeled “raw,” go through different pasteurization processes including, “steam treatment, high heat (dry or oil) roasting, blanching and toxic fumigation with propylene oxide (PPO), a highly toxic chemical that poses severe risks to human health.”
Back to my almond milk making experiment. I felt like a mad chemist, me, my raw almonds, Vitamix, cheese cloth, strainer, glass jars and my laptop. Set yourself up for success and have everything handy. Here’s what you’ll need for the base recipe:
1 cup of Raw Organic Almonds (ask at your local farmer’s market or look online)
3-4 cups of H2O for soaking
3-4 cups of Filtered H2O for blending
A Vitamix or other high-powered blender
A glass bowl or container for soaking
Another or the same rinsed out glass bowl or measuring cup for straining
A wire mesh strainer to put over the bowl or measuring cup
Cheesecloth or nut milk bag (they sell these online)
Glass jar for storing your homemade milk
Optional Ingredients:
A pinch of Sea Salt
A splash of Vanilla
Sweeteners: Maple Syrup or date syrup
Step 1:
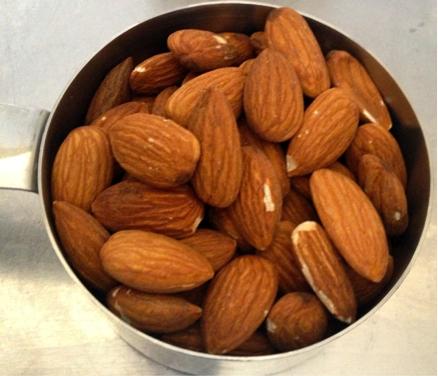
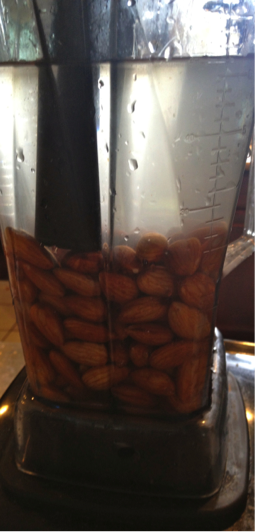
I started off with three cups of almonds just because that’s about what I had left from my supply.

Step 2:
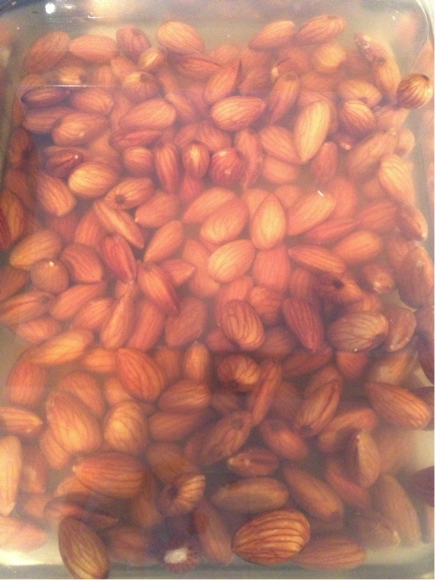
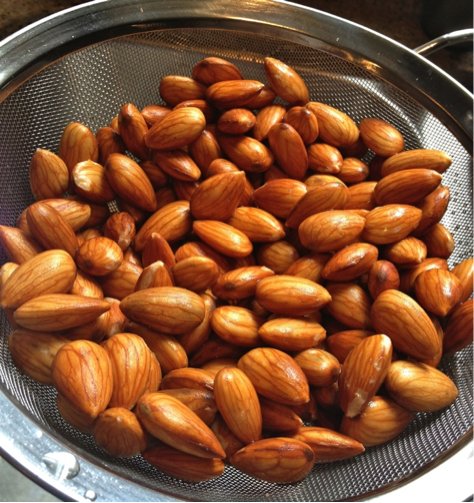
In the morning I checked on my almonds and that the soaking water had a milky, cloudy look. This is what you want. I strained the almonds over the sink and gave them a rinse.
Step 3:
Now, add quality filtered water and the almonds into your blender, (my blender of choice is the Vitamix). Remember the 1:3 ratio for thinner milk or use slightly less water for a creamier consistency.

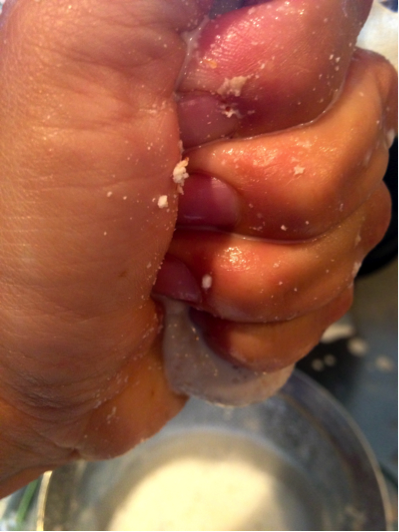
Step 4:
Next, here comes the fun part. I learned that you can milk something without nipples. Strain the milk using cheesecloth over a fine strainer. You’ll have to use a spoon to help the milk along. Then, squeeze the cheesecloth so that you get every last bit of the milk into your glass bowl or measuring cup.

Step 5:
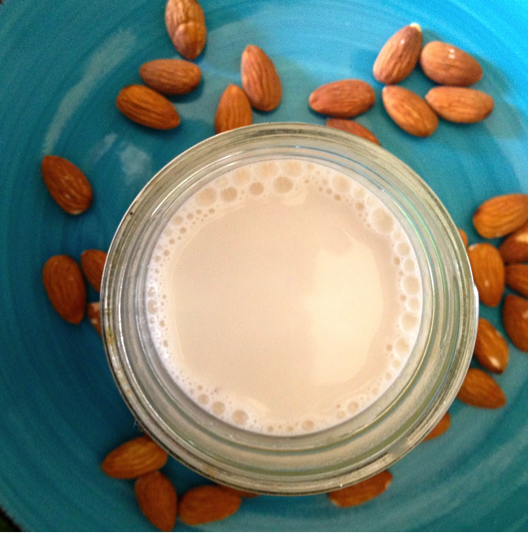
Transfer your fresh almond milk in an airtight glass bottle or Mason jar and keep in the fridge for between 2-4 days.

Some recipes call for a pinch of sea salt. I used pink Himalayan sea salt, sourced at my farmer’s market and it balanced the flavors perfectly. Another idea is to add vanilla if you like that sort of thing. I do, so I did.
All in all, it was a glorious process. As long as you don’t take yourself too seriously and keep absolutes out of the kitchen, you’ll be okay. Now, I have almond milk for my oat groat porridge (recipe soon), morning coffee and something to share with my hubby and kids. This experiment inspired me to choose and prepare my family’s food with more consciousness, honesty and love.
Bonus: You didn’t think it could get any better, did you? Save the stuff that’s left behind, the almond meal. It can be used once it’s either dehydrated, or baked dry in the oven for a few hours, as a gluten-free flour for baking cookies, brownies and breads. I’ll be experimenting with a brownie recipe later this week and will share soon, promise.
For those of you that find a video helpful, I’m sharing one that I found to be authentically cute and funny. The mom making the milk has dishes in the sink and this warmed my heart.
http://youtu.be/V5_MHWmXo9g
Karla Rodas is an ambassador of love and hugger of sweaty beings. Inspiring, educating and leading others in the sacred tradition of yoga is one of her true callings. Food and family is another. Through yoga and writing, her greatest hope is to help others self-heal and tap into their own inner beauty, strength and limitless potential, always with humor and love. Karla contributes her writings at ej. Karla lives in San Diego with her beloved husband Frank and two teenage sons. You can reach Karla through her site www.yogaconkarla.com.
Like elephant food on Facebook.
Ed: B. Bemel

Read 8 comments and reply