
 Share on bsky
Crunch! Mmm, nothing quite like biting into a crunchy, delicious and tart dill pickle!
Everyone in my house adores pickles! Whether the pickle is a side garnish for a meal or just a tasty snack to munch on, we like having a jar (or several) of the crunchy, tasty treats chillin’ in the fridge.
Naturally, it was only a matter of time before we delved into the food adventure of making our own pickles!
My husband led the endeavor by doing a bit of research on the internet. The plethora of recipes and instructions was a bit daunting but we dove in anyhow.
The first attempt at making a batch of pickles went well, so we decided to make a fresh batch to share with our family for the upcoming Thanksgiving holiday. They were a huge hit!
The first thing needed is something to make and store the pickles in! Chances are, for fans of pickles, there are probably empty pickle jars around. To use the empty pickle jars, just wash and set the jars aside to use for making homemade pickles! Save three or four jars, so to make a big batch all at once.
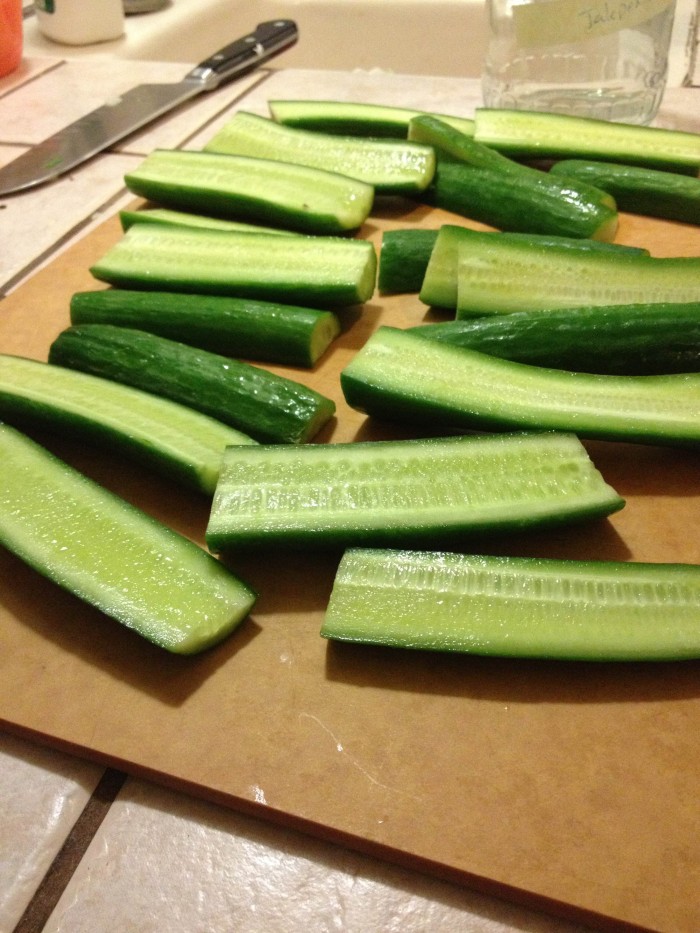
“Kirby” cucumbers are supposed to be the best type for pickling, but we used Persian cucumbers and those worked just fine.
Making about four jars of pickles takes approximately three and a half pounds of organic, small pickling cucumbers. (For this batch, we used four packages of Persian cucumbers from Trader Joe’s.)
To begin, cut the cucumbers into either halves or spears. Essentially, squeeze in as many pickles-to-be as possible, so plan on packing them in tightly! (However, don’t cut pieces too small, or they might absorb too much brine and become un-crunchy.)
Next, prepare the seasonings. The amounts will vary, depending on how many jars are being made, so below is a guideline on how much of each spice to add per jar. (Based onthe 24 oz. jars we use.)
Remember to use organic ingredients whenever possible!
Pickle Seasonings:
Dill Seed—1½ t. per jar
Peppercorns—½ to 1 t. per jar
Garlic Cloves, slightly crushed or broken open—3 per jar
Red Pepper Flakes—¼ t. per jar
Green Onion—1 to 2, cut to same size as the pickles-to-be (optional)
Jalapenos—2 to 3, cut into chunks (optional)
Have fun with the seasonings and alter things to taste! For instance, if garlic is a favorite, perhaps use more than just 3 cloves per jar.
If kids are around, get them involved! Especially for choosing the seasonings. Kids are excited to try food they helped create!
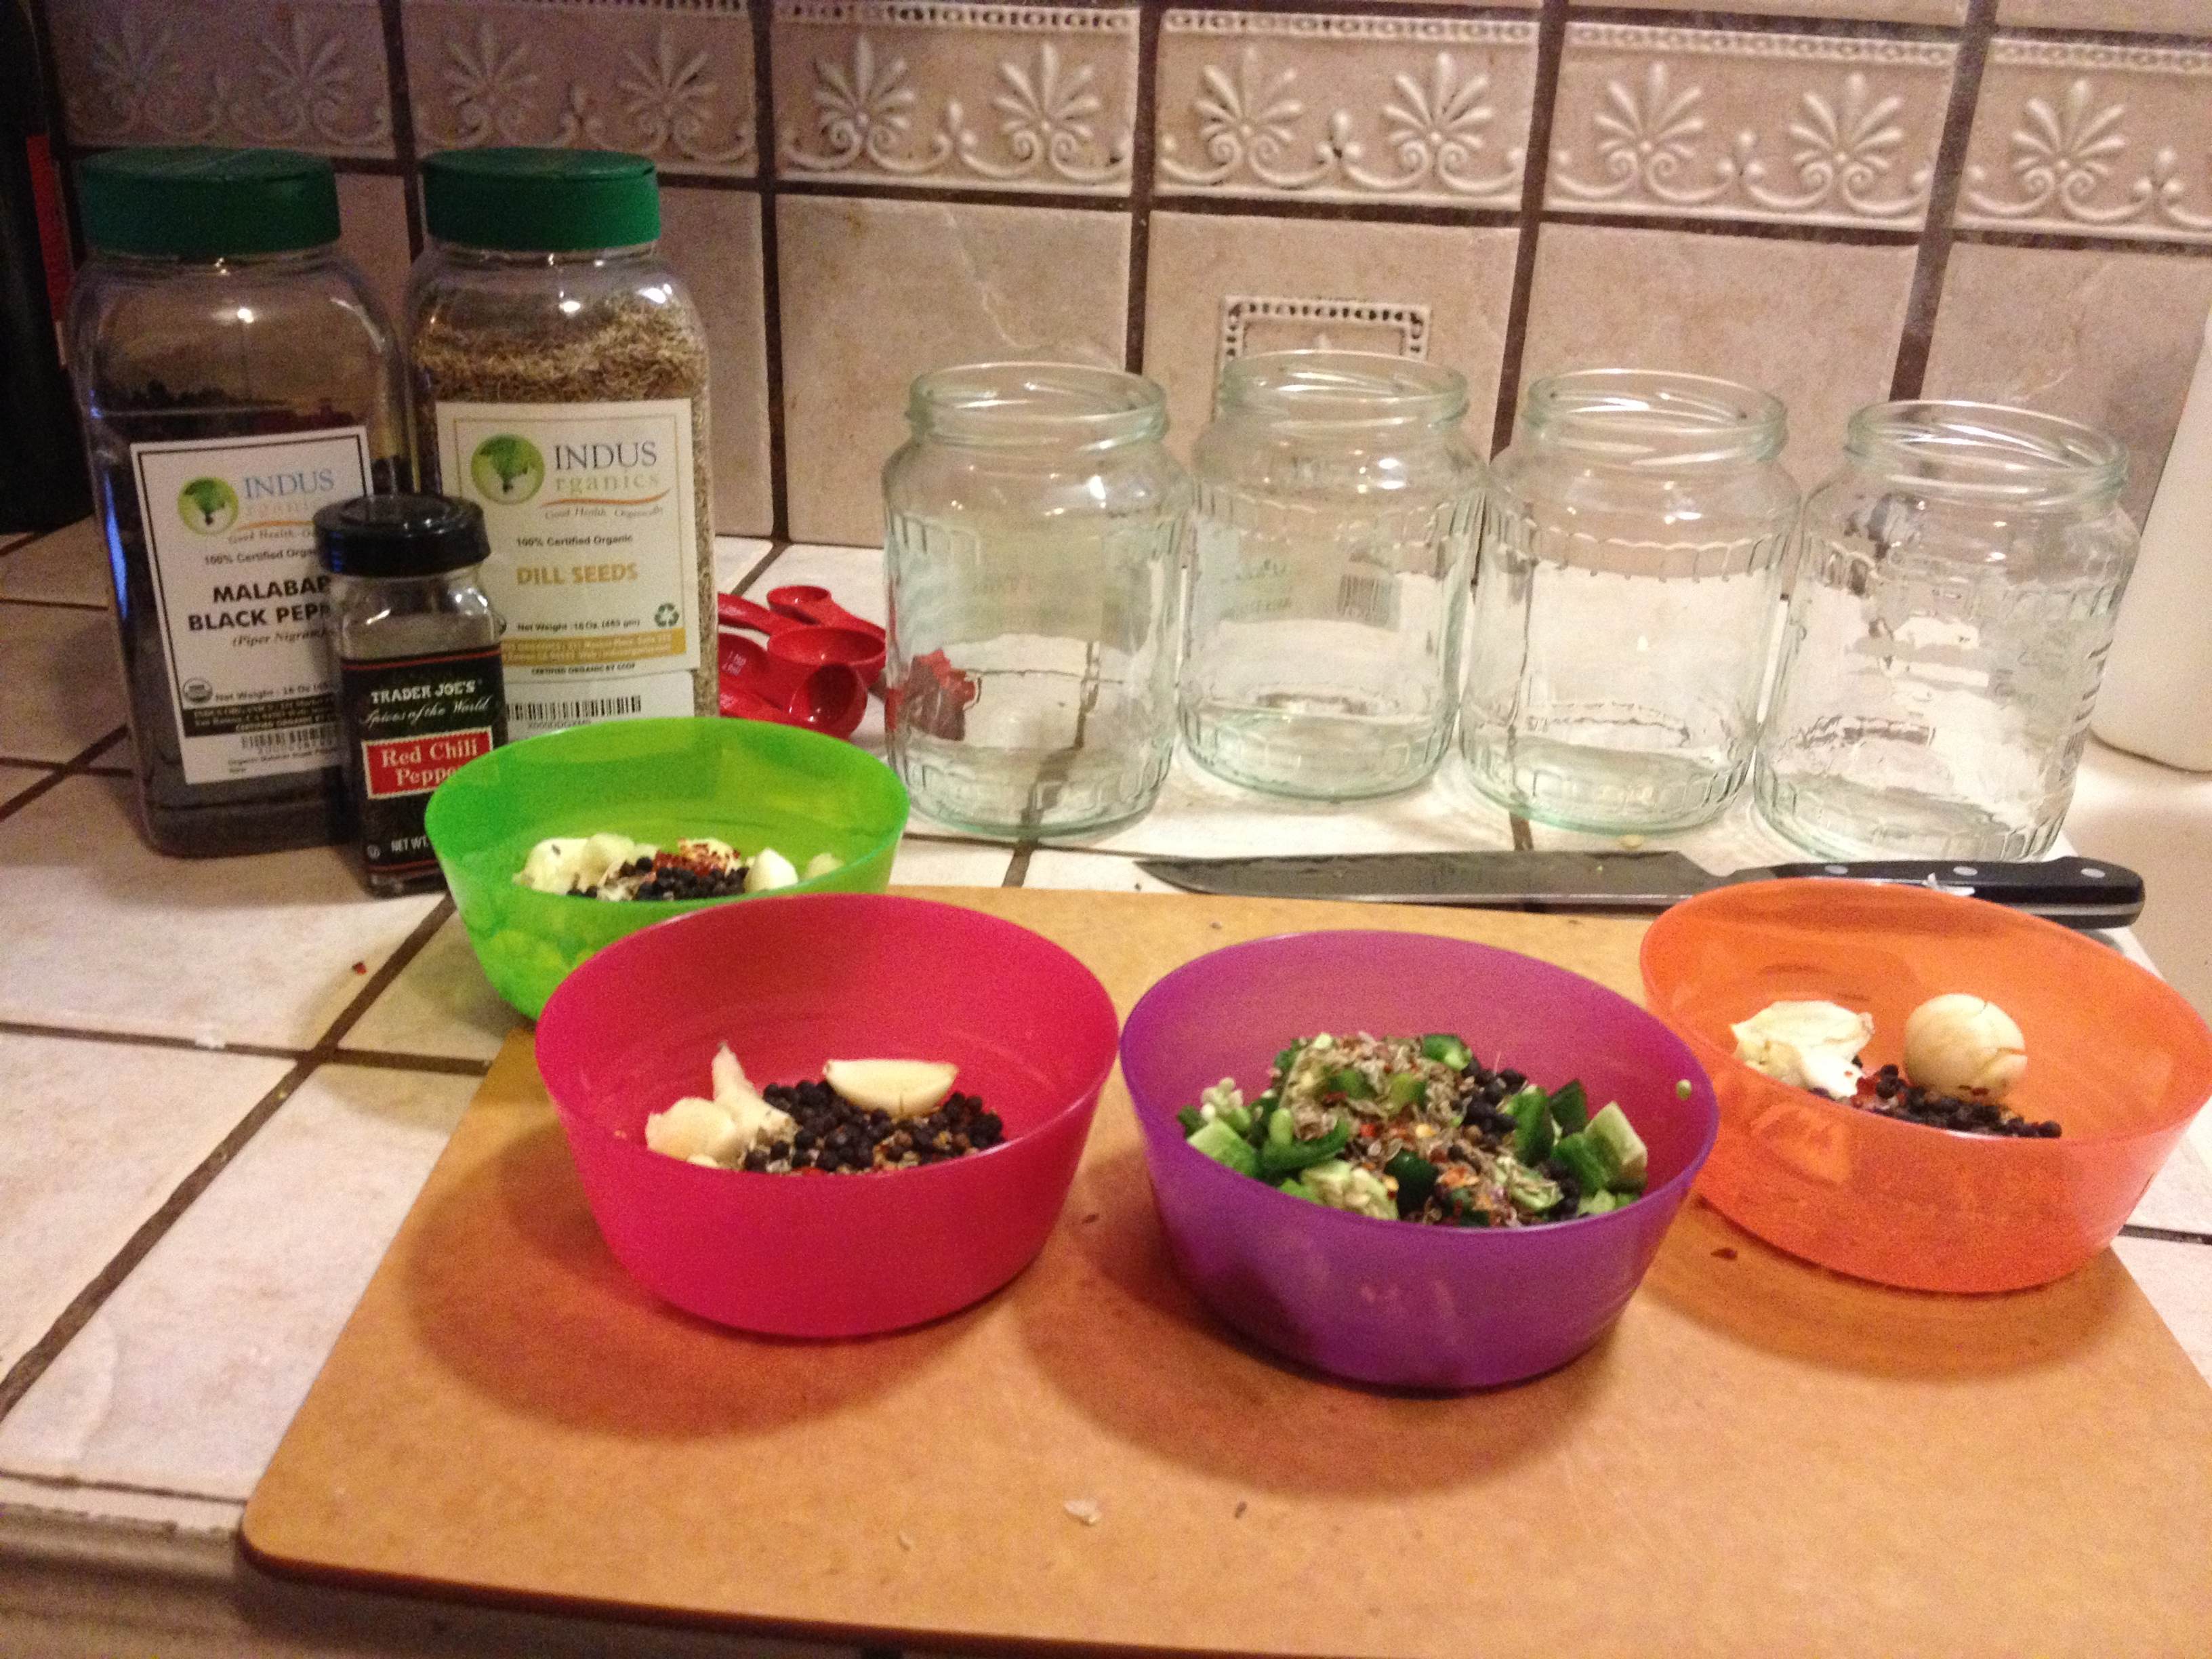
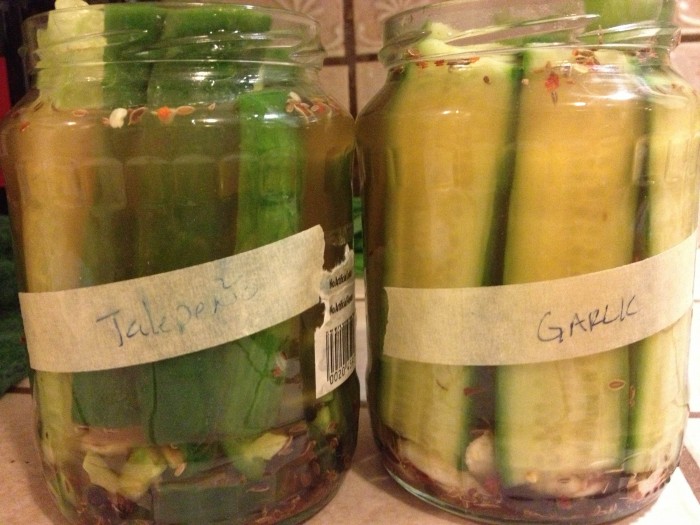
For this particular batch, we used 4 jars and decided to experiment with a few different flavors—We made 2 jars of “regular,” 1 jar of “Extra Garlic” and 1 jar of “Spicy Jalapeno.”
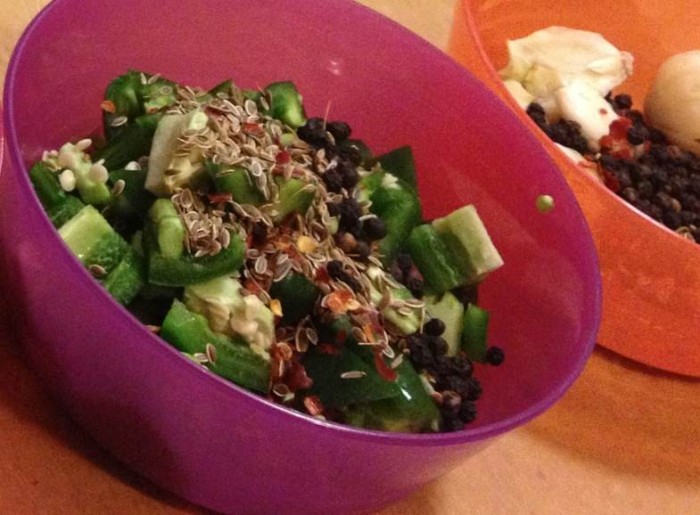
First, measure out the necessary amounts of dill seed, peppercorns, garlic cloves and red pepper flakes into small bowls. Set aside, then added jalapeno chunks to the third bowl and 8 extra crushed garlic cloves to the fourth bowl.
With all the spices ready to go, the next step is making the brine for the pickles!
Brine Ingredients:
1 c. Apple Cider Vinegar per jar
¼ c. White Distilled Vinegar per jar
½ c. water per jar
1 T.of high quality salt, per jar—either Kosher Salt or Pickling Salt (We like to use Himalayan Coarse Pink Salt.)
Measure out the ingredients above into a saucepan or pot, then cook on medium heat, stirring frequently.
The brine should cook until it is boiling and all the salt is dissolved; it will take approximately 10 to 15 minutes.
While the brine cooks, begin to pour the spices into the bottom of their corresponding jars. Include any jalapeno and extra garlic here—it all goes to the bottom of the jars. (Remember to label with a piece of masking tape to keep track of what’s what!)
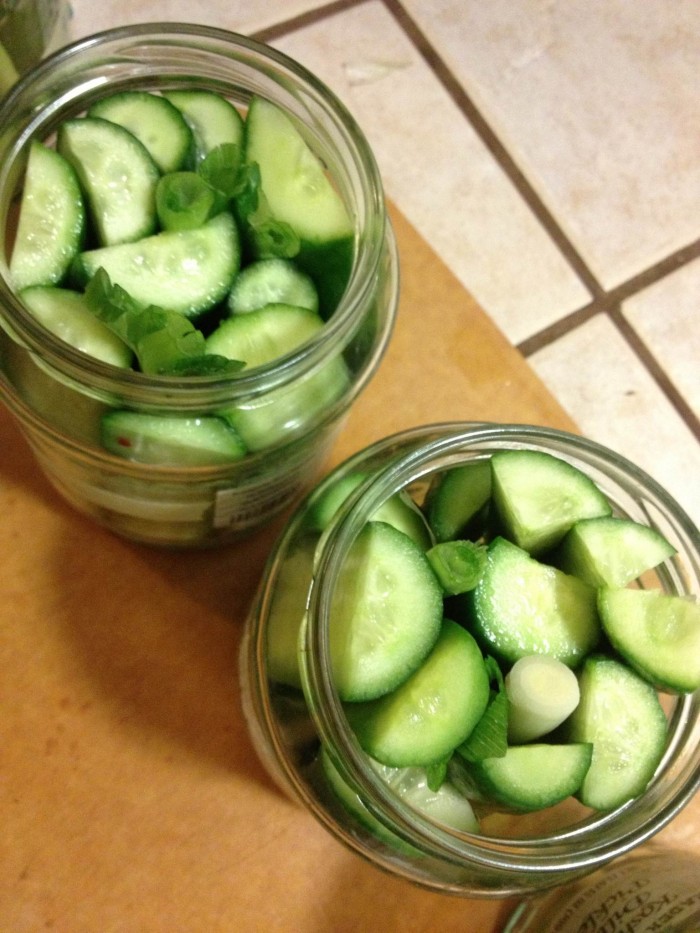
Next, begin to stuff the jars with the sliced cukes. Pack them in tightly but don’t hurt or crush the cukes! Once the jars are full of cukes, slide in a few green onions, if desired.
Remember to stir the brine frequently as it cooks and when it’s ready, remove it from the heat.
Most recipes suggest pouring the brine over the cukes right away, but my hubby likes to let it stand for just a minute or 2 first, before pouring it into the jars. He has a theory that this will help preserve crunch factor in the future pickles!
When ready, pour the brine into the jars, making sure to completely cover the tops of the pickles-to-be.
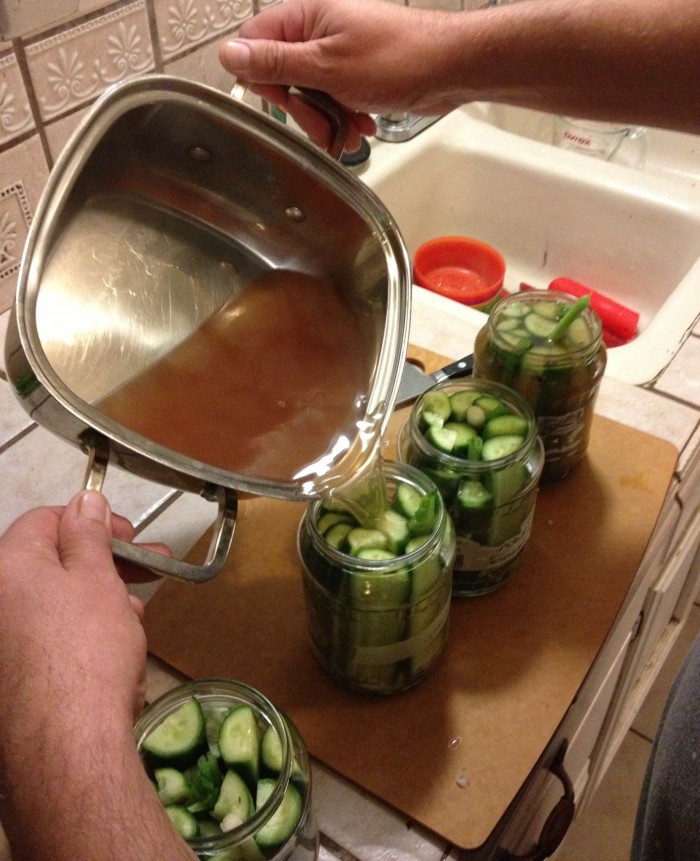
Leave the lids off for now, and lightly tap the bottoms of the jars against the kitchen counter or cutting board several times to release any air bubbles.
Then, top off the jars with a bit more brine, making sure the cucumbers are completely covered.
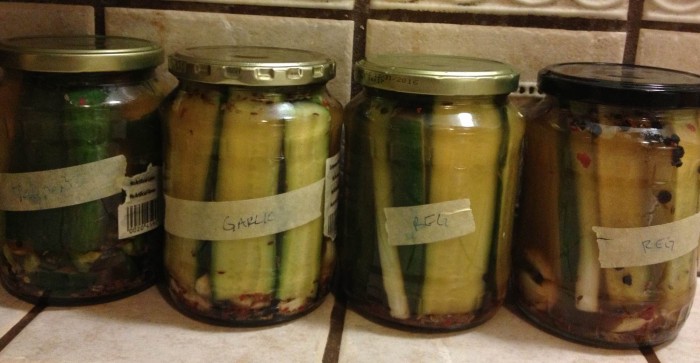
Finally, cap the jars but leave them to cool to room temperature. Once they are cooled, pop ’em in the fridge!
It is suggested to keep them “pickle-ing” in the fridge for a minimum of 48 hours but we prefer to leave them for at least 4 days, to really let all the flavors seep in!
One additional note: While the cukes are morphing into pickles in the fridge those first 4 days, we like to gently rotate them 360 degrees, from top to bottom, once a day. Just to help move the spices around and encourage distribution of full flavor.
Making pickles this way, they should keep in the fridge for several weeks. But in our house, they don’t typically make it that long, before we gobble them up!
Enjoy!
Love elephant and want to go steady?
Sign up for our (curated) daily and weekly newsletters!
Author: Yoli Ramazzina
Editor: Ashleigh Hitchcock
Photos: Author’s own


Read 2 comments and reply